Article: Tips From the World's Best Pro Upcyclers
Tips From the World's Best Pro Upcyclers
Yay, we finally meet! My name is Kata, the Creator behind Studio Twentyseven. I know exactly how you're feeling right now. The constant confusion, the hours of googling, the vague and conflicting advice. When you upcycled your first piece, you didn't sign up for this, did you? Trust me, I've been there. So, I got together with some of the biggest names in the Upcycling industry and asked them to share some of their best Upcycling tips with you.
Happy creating!
SOURCING
Be brave when sourcing furniture.
You can buy anything that’s structurally sound as most issues can be easily fixed. You can fix most problems by filling holes, replacing legs, gluing broken parts. Bottom plinths can be removed
and new legs can completely transform a boring piece. You can buy furniture from Gumtree, Ebay, Facebook Marketplace , Craigslist, OfferUp , auctions and charity shops.

“I buy a lot of furniture on Facebook Marketplace. When you offer a price, be reasonable and try to get as close to the asking price as possible. I always offer very quick pickup; most sellers will likely come down on price if you can collect straight away."
Maggie McGaugh - @maggiemcgaugh
YOUR TOOLS
You don’t need to have super expensive tools. In fact, most of mine are available from any DIY store for a few pounds. Learn a technique that will consistently create a professional finish and you’ll never have to spend $$$ on expensive supplies. My favourite tool is my Makita orbital sander which only cost £50 and creates a perfect base for my flawless painting. I love using Fusion Mineral Paint for that flawless finish and a strong PVA glue for my papers.

“Pallets are a free abundant source that you can learn to wood work with, without breaking the bank - find them on industrial sites, logistical providers, wood recycling centres, building sites, road sides & don’t forget to reuse ones you receive your deliveries on!”
Charis Williams - @therealsalvagesister
PREPPING
Always prep your furniture, even if your paint says you don’t have to. Your pieces will last much longer and your finish will look professional. Always degrease first to avoid burning the grease and dirt into the wood when you're sanding. When sanding, always ‘sand up’. I usually use a 120 or 180 grit sanding disc on my orbital sander and go up 1 or 2 levels to 220 or 240.
CLEANING
I hate cleaning my tools! I layer your paint tray with kitchen foil/tin foil so I can just throw it away when I finished painting. You can fold it over when you’re taking a break to avoid the paint drying out. Place your brushes/rollers in freezer/ziploc bags and put them in the fridge overnight. The cold temperature will keep them moist and you can use them again the next day.
TRICKY SURFACES
You CAN paint laminate furniture like IKEA. I always use my trusted ZINSSER B.I.N. primer or Ultra Grip by Fusion Mineral Paint to create a super strong surface that my paint can adhere to.
Have you ever seen those annoying orange streaks in your white painted furniture? Those are wood tannins bleeding through. B.I.N. also serves as a stain blocker and is the first thing I use when I paint with light colours.
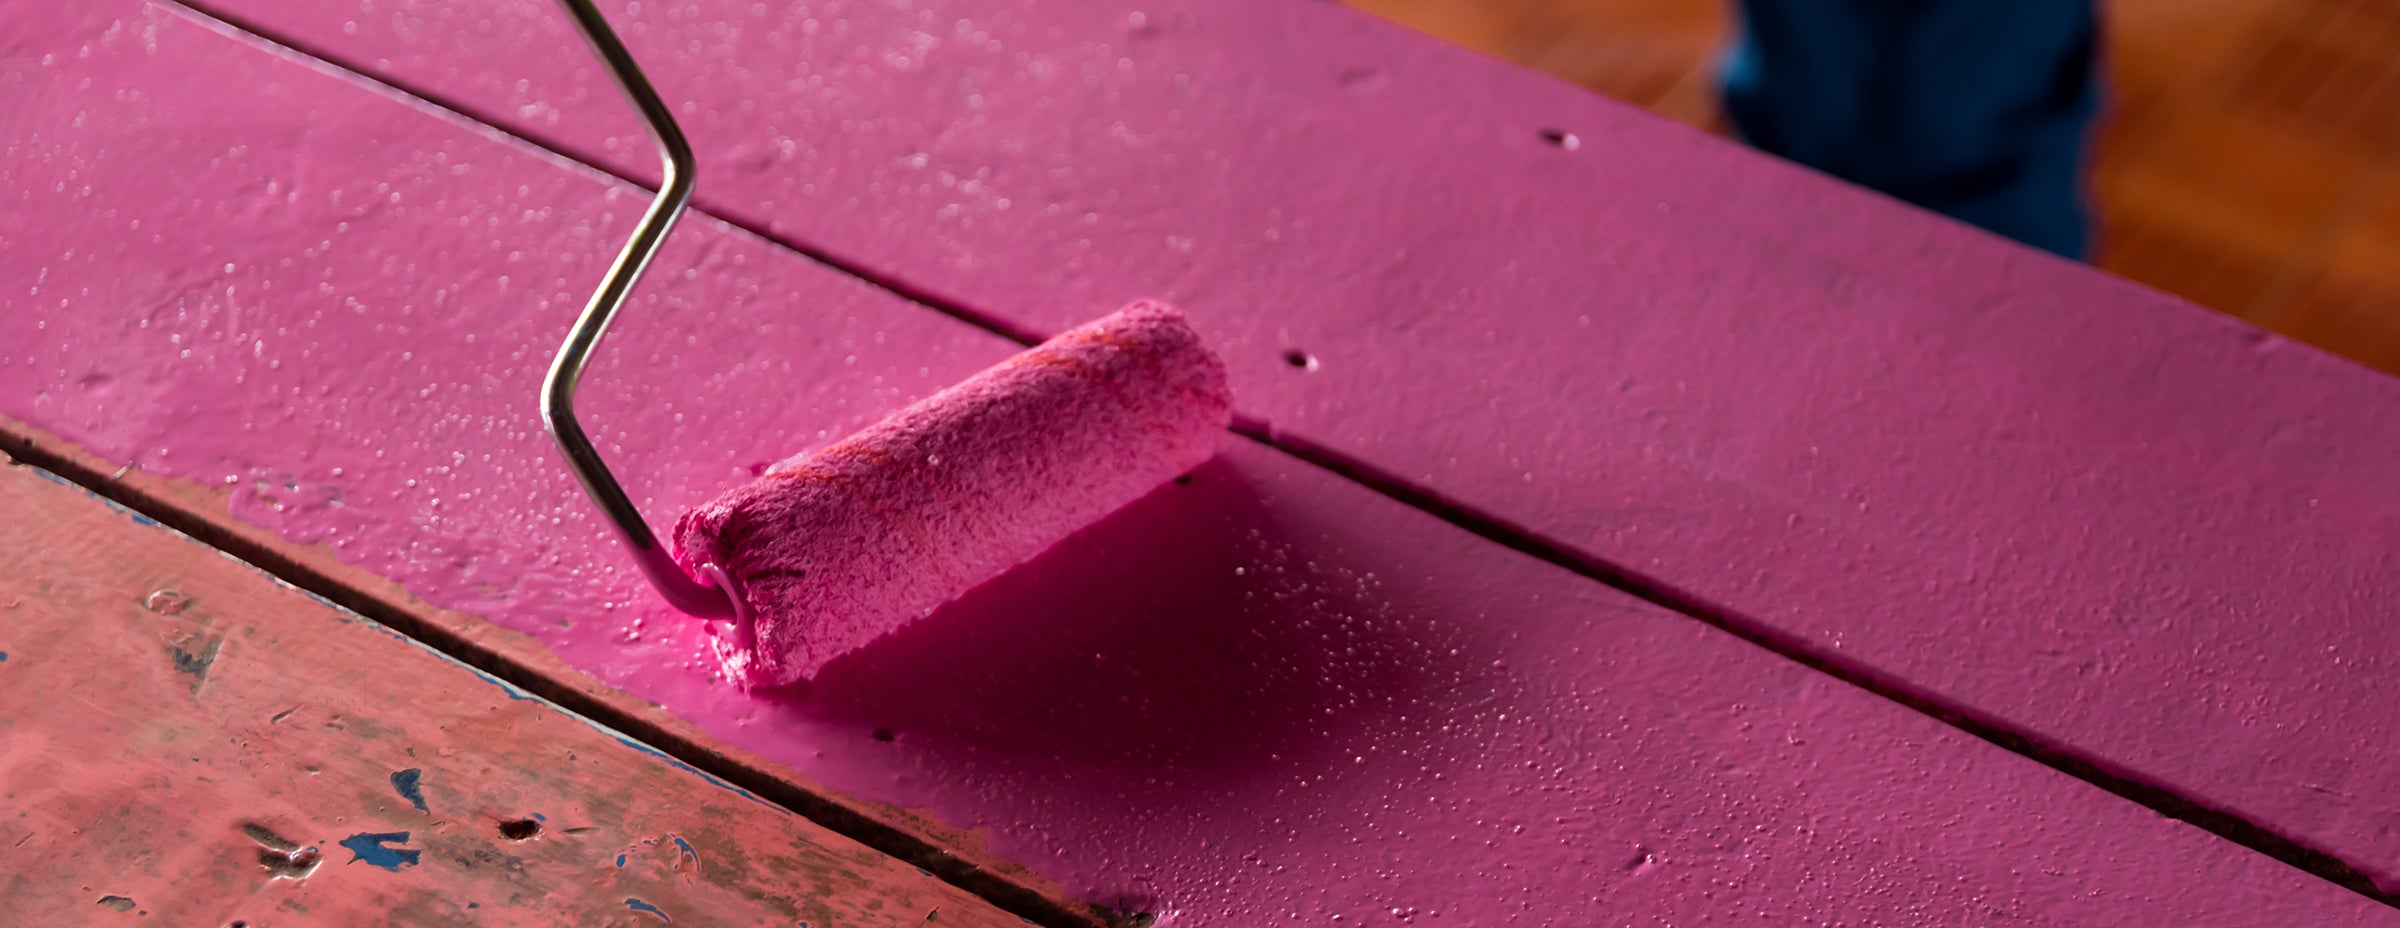
FLAWLESS PAINTING
No matter what you do, you're getting brush strokes. Annoying, right? What makes my painting finish look sprayed on? Sanding between coats. I always sand between coats by using fine sanding sponges. It evens out the texture left by your brush or roller.

“When I paint freehand I always start in the middle of the furniture with the main design. I need to see how the composition will fold and the main image has to be what catches my eye straight away. If I'm happy with the centre, I work around this and build it up bit by bit.”
Ildiko Horvath - @ildikoh67
COLOUR BLENDING
“When you first try blending, pick safe colors. It’s much easier to blend a neutral safe color, like white with grey. Save the bold colors like blue into green for when you have more experience. Blending safe colors is not only easier but will boost your confidence when you do it successfully.”
Kacha - @kachafurniture
YOUR DESIGN

“Often my projects begin without an idea at all and the moment I put pen or paintbrush to paper, that's when I become inspired; I make my best work on impulse, the key is to get the things inside your head out into the big wide world; sketchbooks are a helpful tool.”
Chloe Kempster - @chloekempsterdesign
Read more
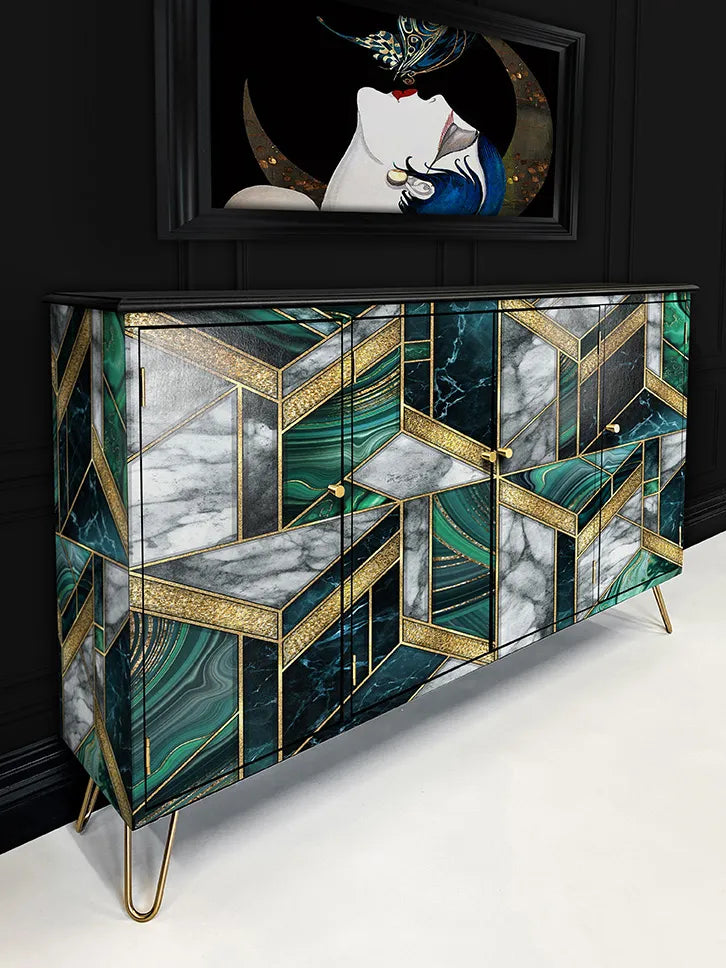
Greens and blacks for Art Deco glamour
Greens and blacks for Art Deco glamour As a kid I couldn’t stand the colour green. Don’t know why. It wasn’t blingy like gold and it wasn’t cool like black. I still struggle with its hues; it’s GOT...
Read more


